To record screen in windows 11, you can use following applications
| 1 | Snipping Tool |
| 2 | Third Party Applications e.g. ShareX |
Snipping Tool
To open snipping tool you can either
- Press -> Windows + Shift +R or
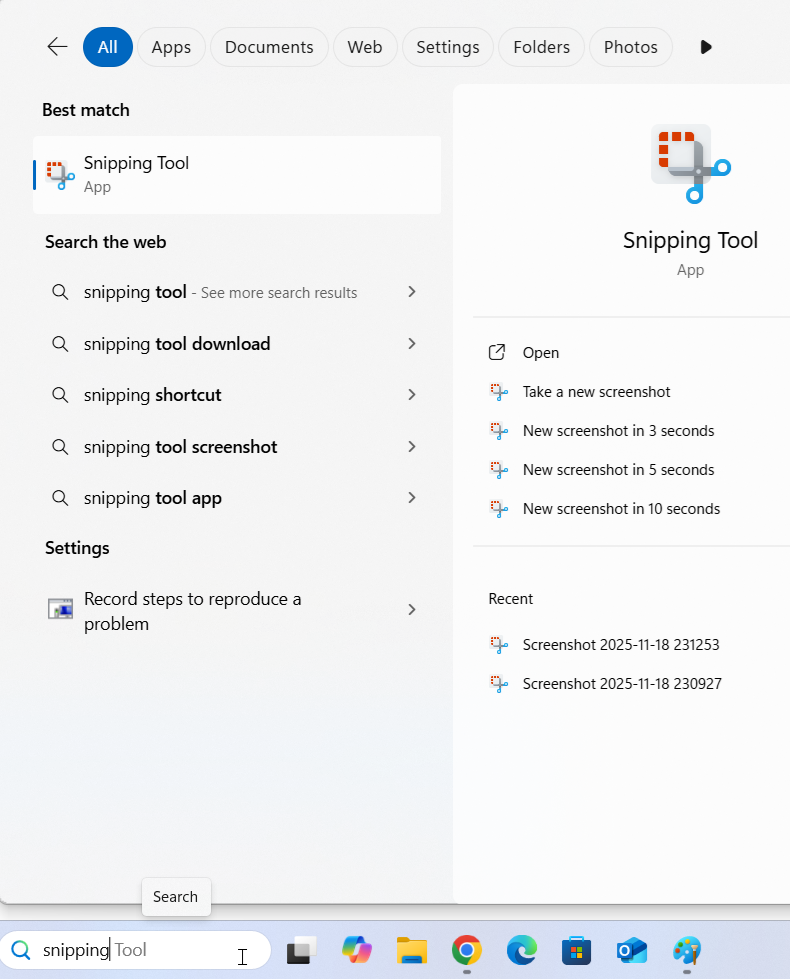
- Search -> “Snipping Tool” in search bar.
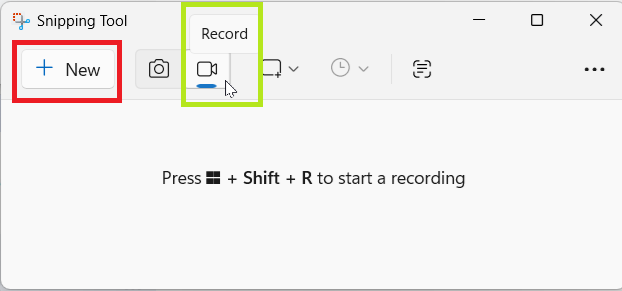
Step 1: Click on “New” to record the screen (Make sure you have selected “Record”).
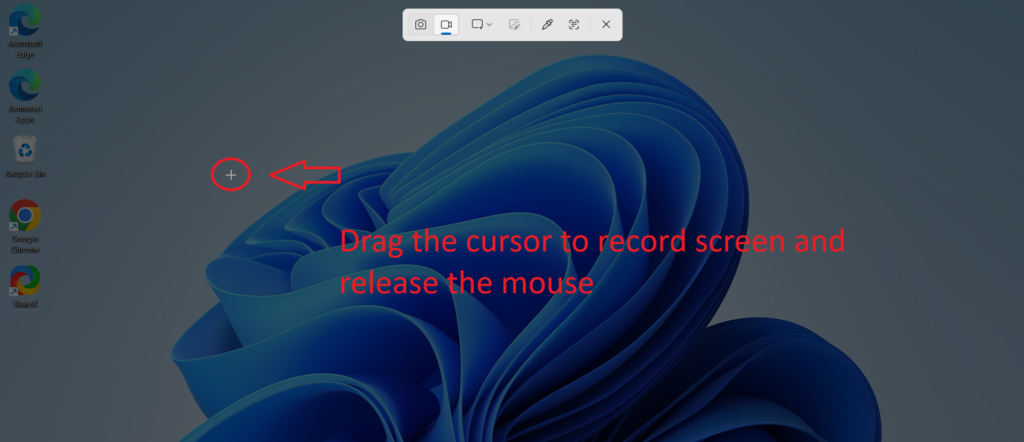
Step 2: Drag the cursor to select the recording area and then release the mouse.
Step 3: Press “Start” to initiate the screen recording.
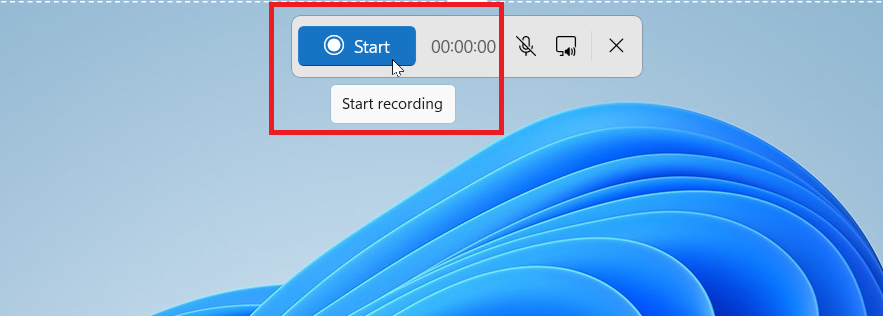
Step 4: A counter will start for 3 seconds and then screen recording will start.
During screen recording you can either
- Mute/Unmute microphone
- Mute/Unmute system Audio
- Discard the recording
- Stop the recording to complete it
After recording is stopped, snipping tool window will appear and you can view the recording.
On this window you can either
- Trim the recording
- Create GIF of the recording
- Share it with other applications
- Edit it in Clipchamp (for advanced editing)
You can copy this recording in clipboard to use it further in other applications or can “save” in the file explorer.
Third Party Applications
Many third party applications are available which helps to record screen and also provide advanced features. The best one according to us is ShareX.
You can download ShareX from their official website link.
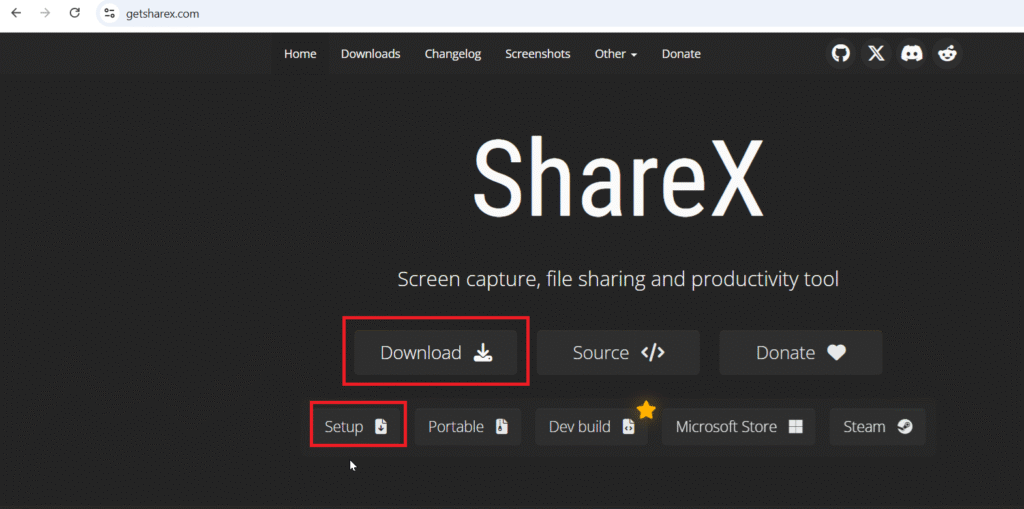
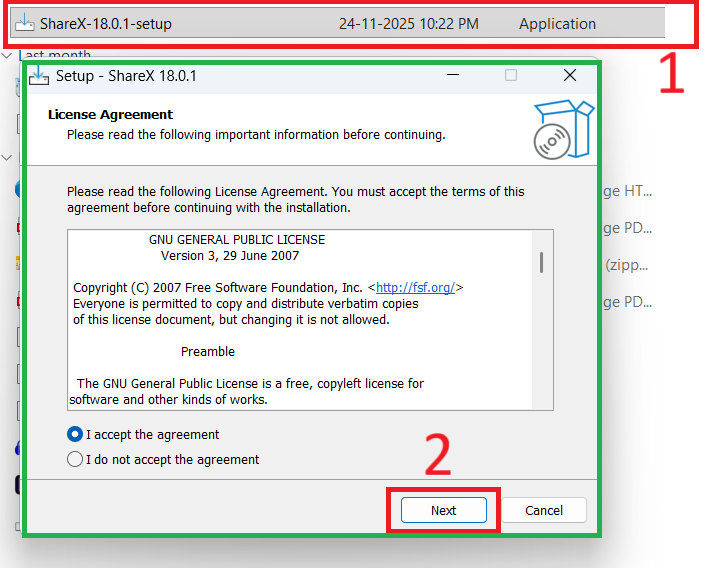
Open the setup and follow procedures to install the setup.
After installation open ShareX. On the main screen it lists hotkeys for recording screens.

Step 1: To record screen using ShareX press Shift + PrtScn.
Step 2: Drag the cursor to select the recording area and then release the mouse to start recording.
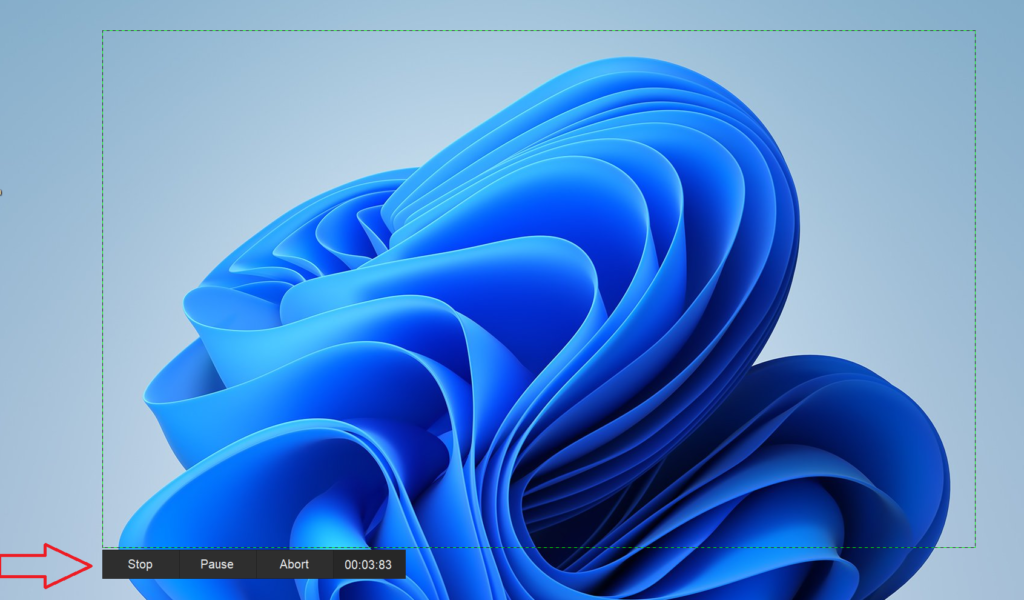
You can see screen recording has started. During screen recording you can either
- Stop
- Pause
- Abort
Step 3: Press “Stop” to complete the recording. You will see a pop-up on bottom right side of screen showing the path where recording is saved. You can click on it to see the recording.